Quick Start Guide
This guide will help you understand the core features and how to interact with AgentHive.
Creating Your First Workflow
- Navigate to the workflow creation interface
Go to the Workflows section in the platform UI and click "create your own!".
- Designing the Workflow
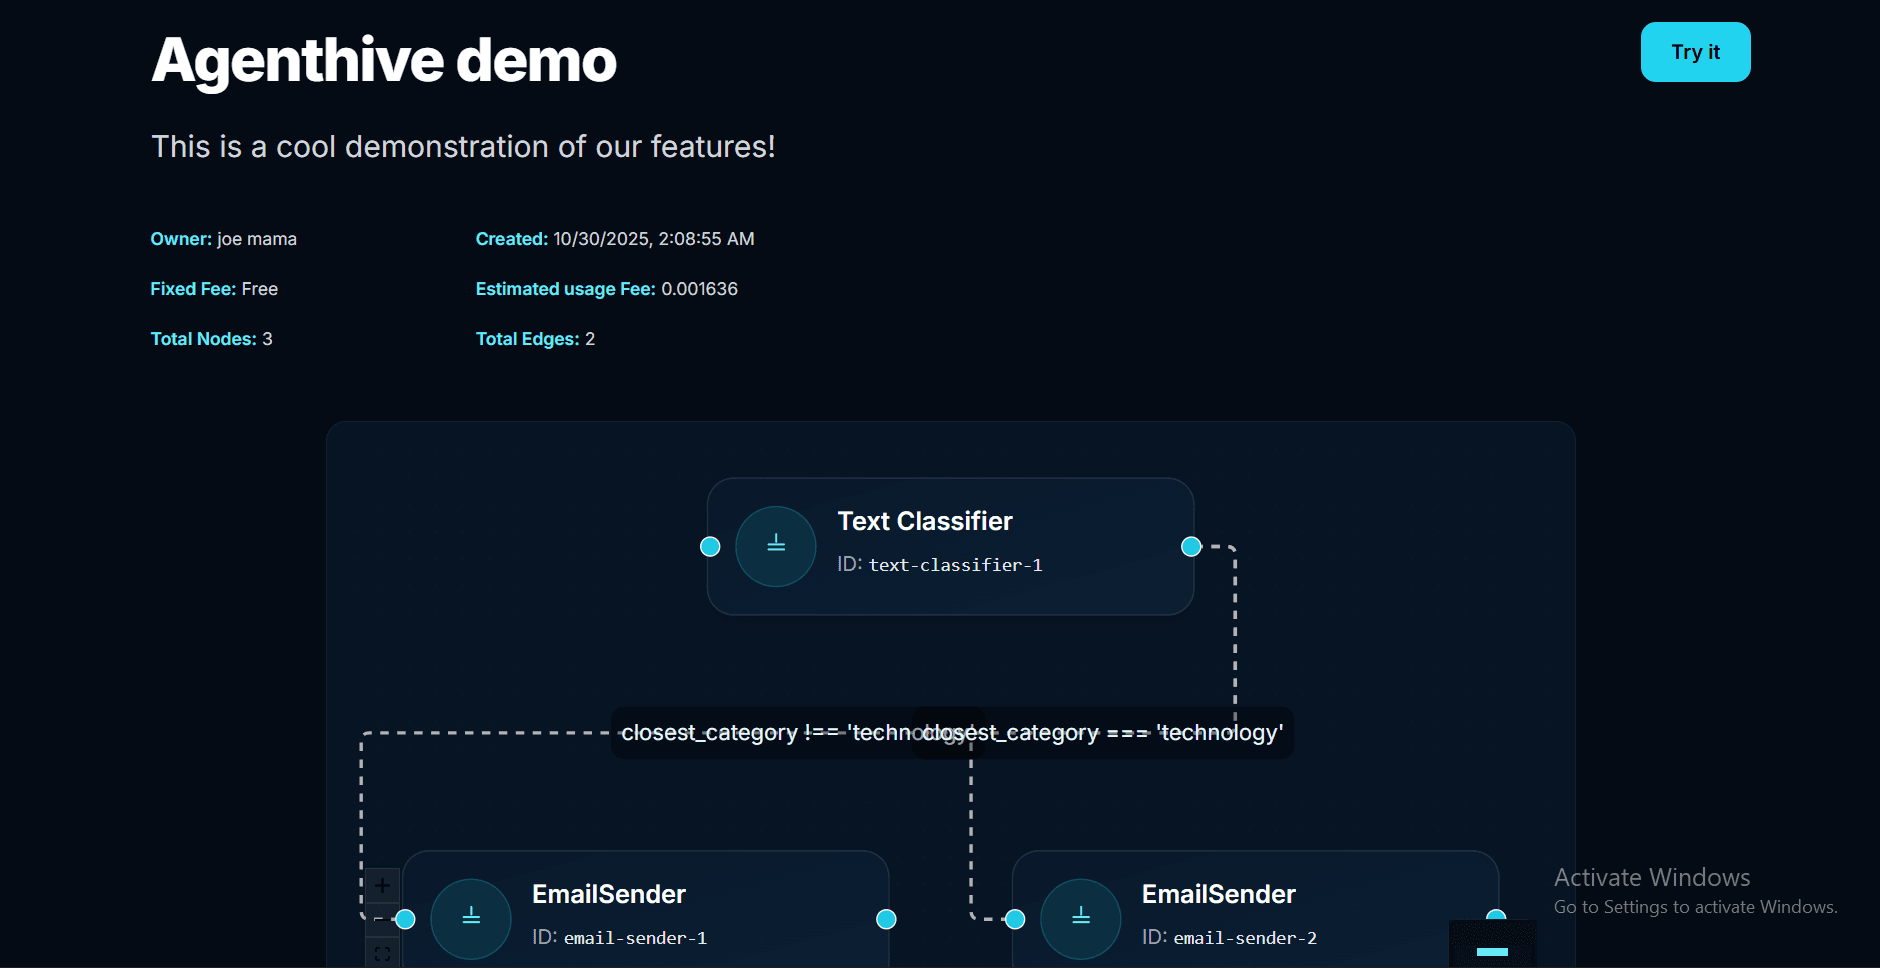
Use the visual workflow designer to create your workflow steps. On the right panel, you will see a list of tools from which you can choose, drag, drop, and edit with your own variables. Each tool provides an input and output shape.
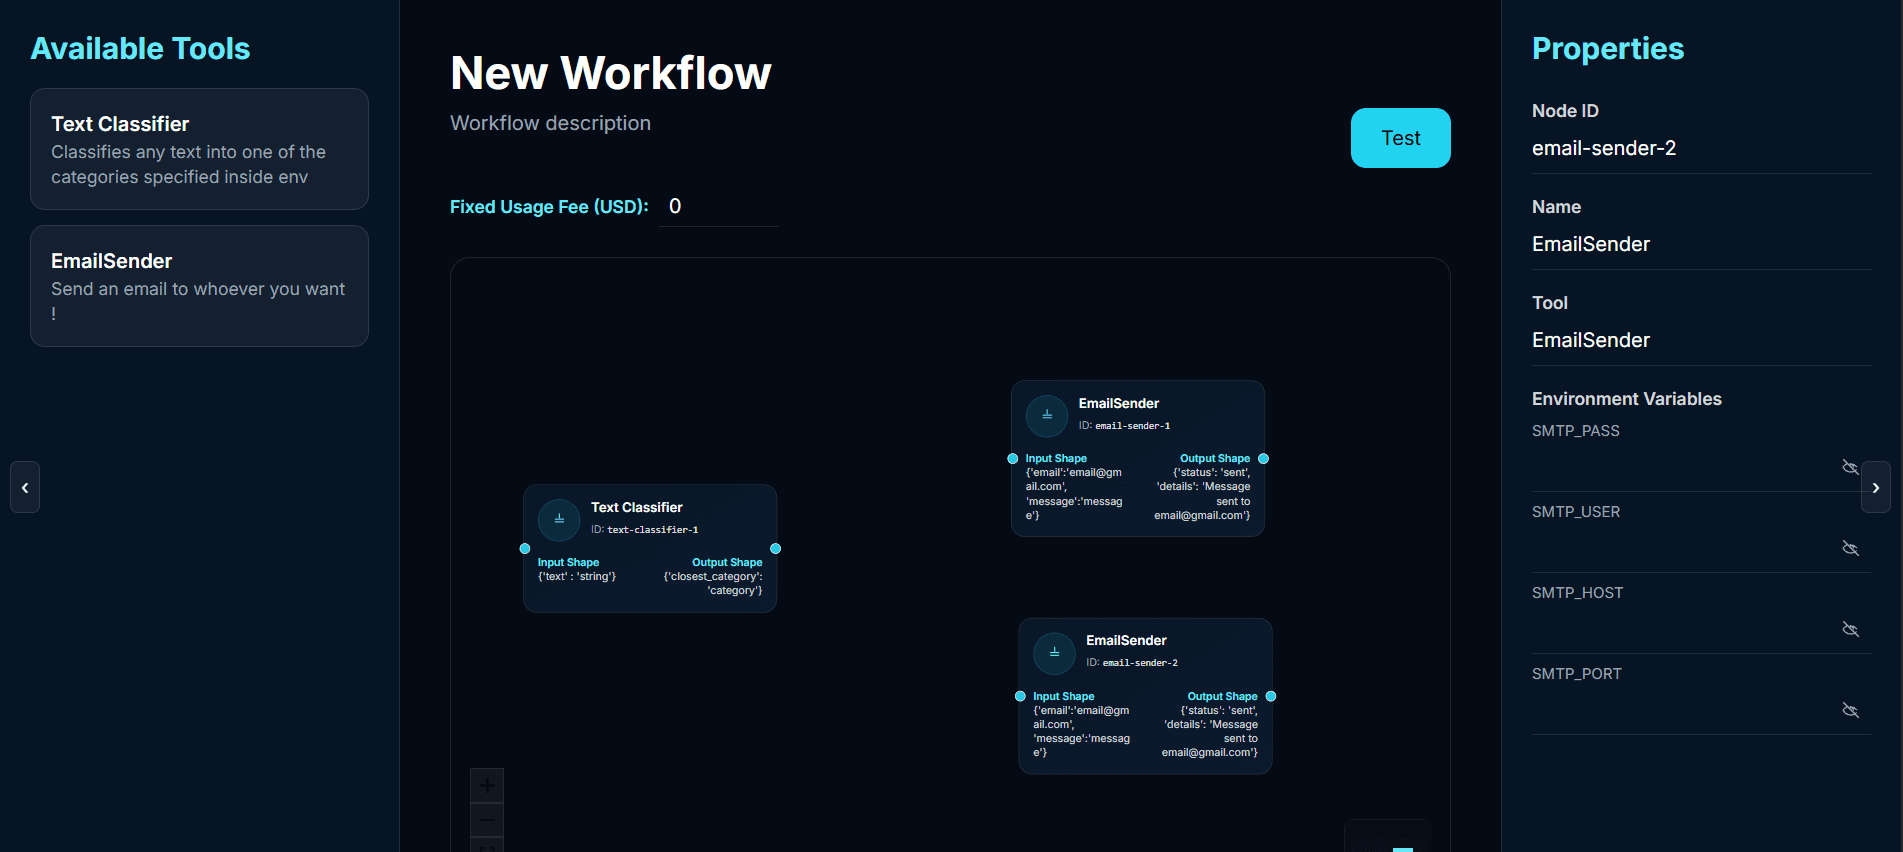
You can link your tools from output of one to input of another only, by dragging an arrow from one point to the other. Each edge can have a condition that you should write in JavaScript syntax, e.g.:
closest_category === 'technology'. Please note that you should only use single quotes inside the conditions!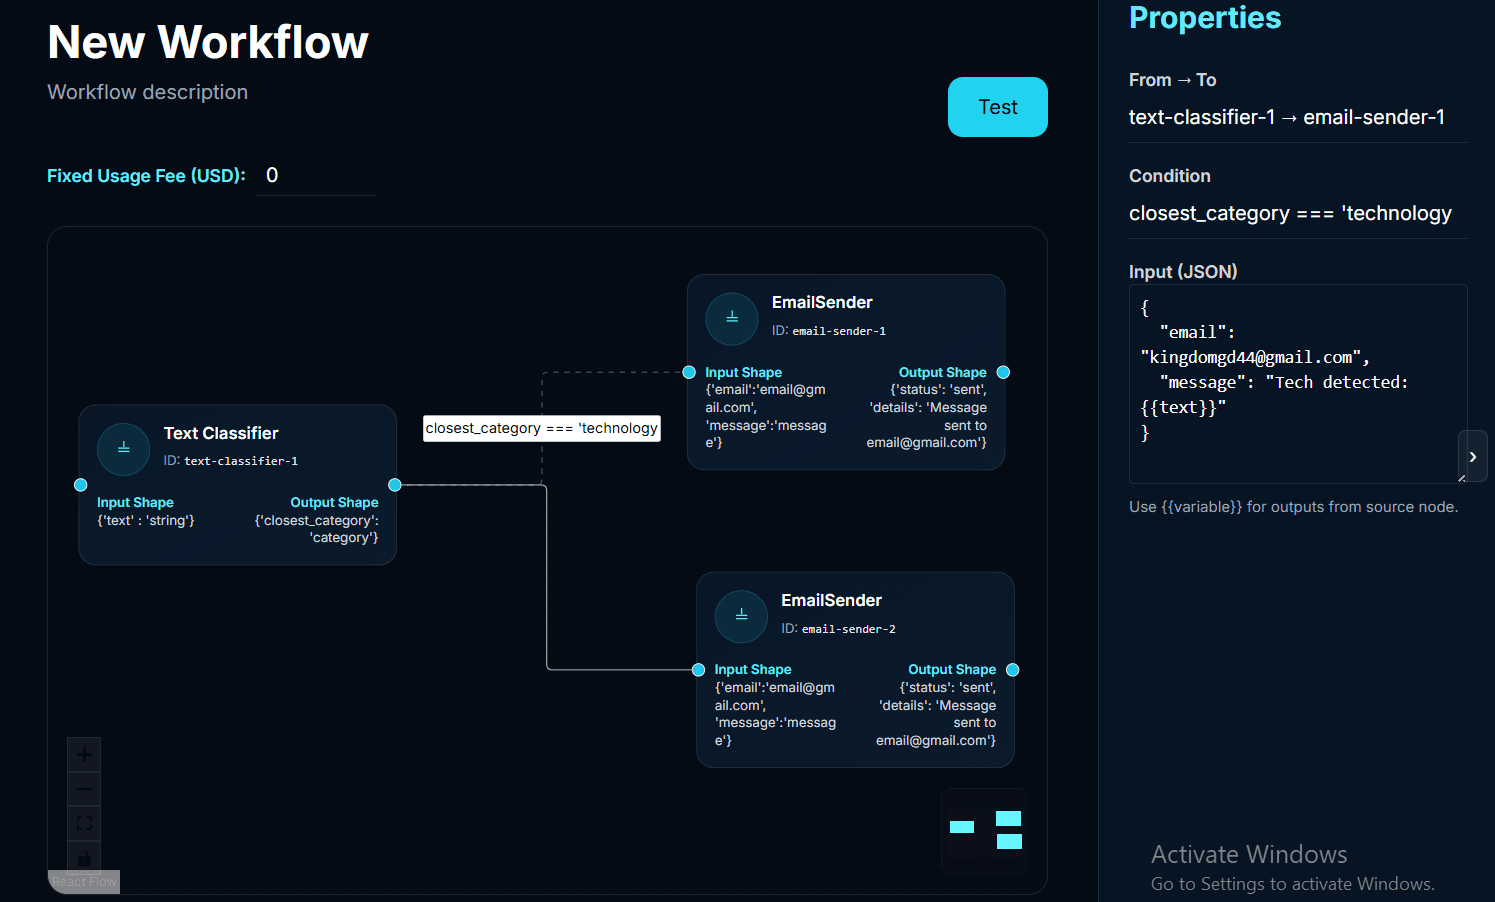
Each edge also needs a mapping, which is the way you transform an incoming output to the desired shape of the next tool. You can use variables this way:
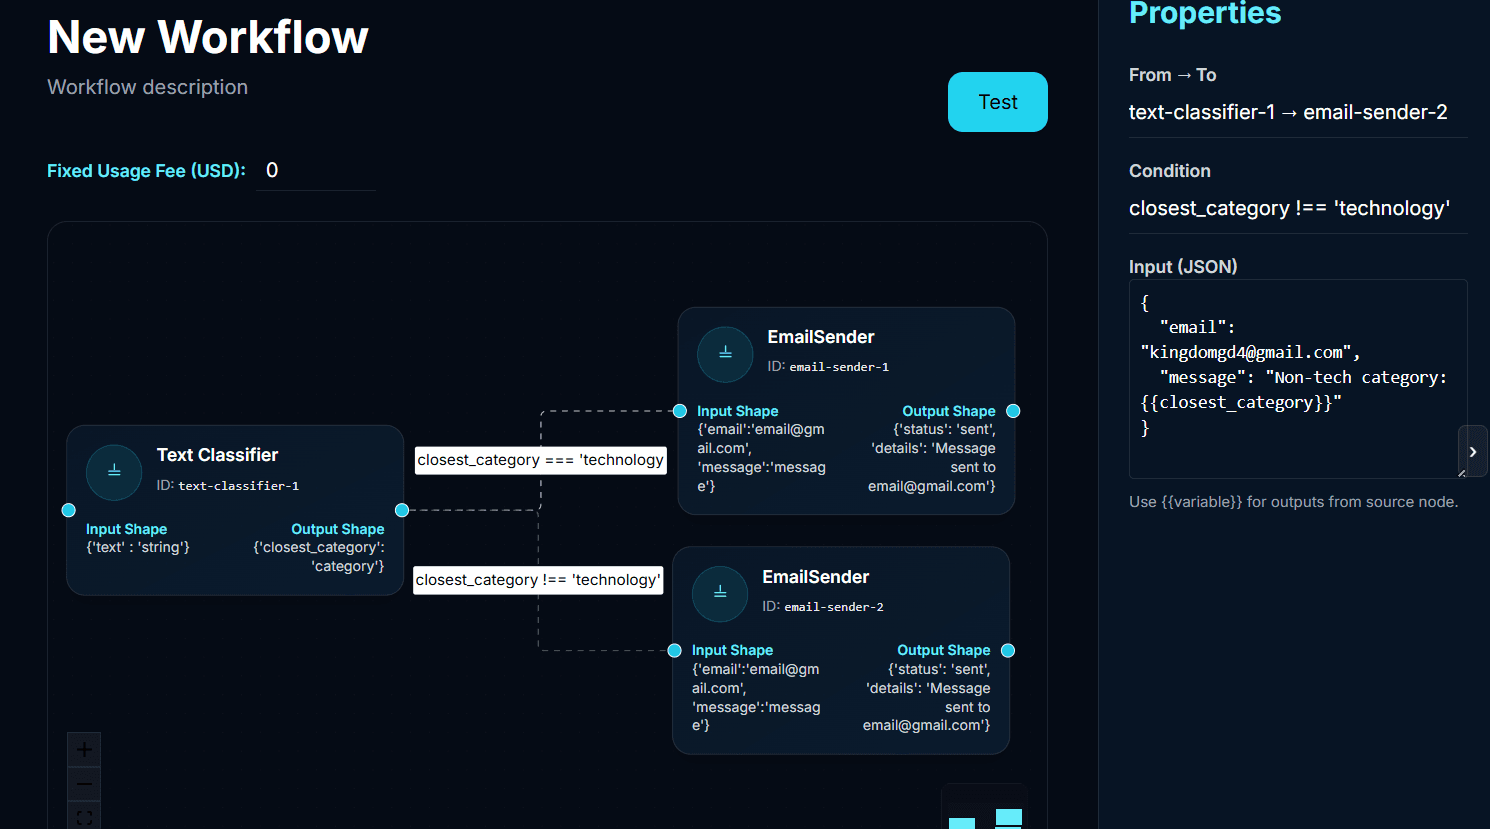
You can use any variable that is defined as an input or output of any precedent tool for the mapping of the next one!
- Testing
Once you're happy with your workflow, you can test it! Testing will take a while to deploy an instance of each tool you used.
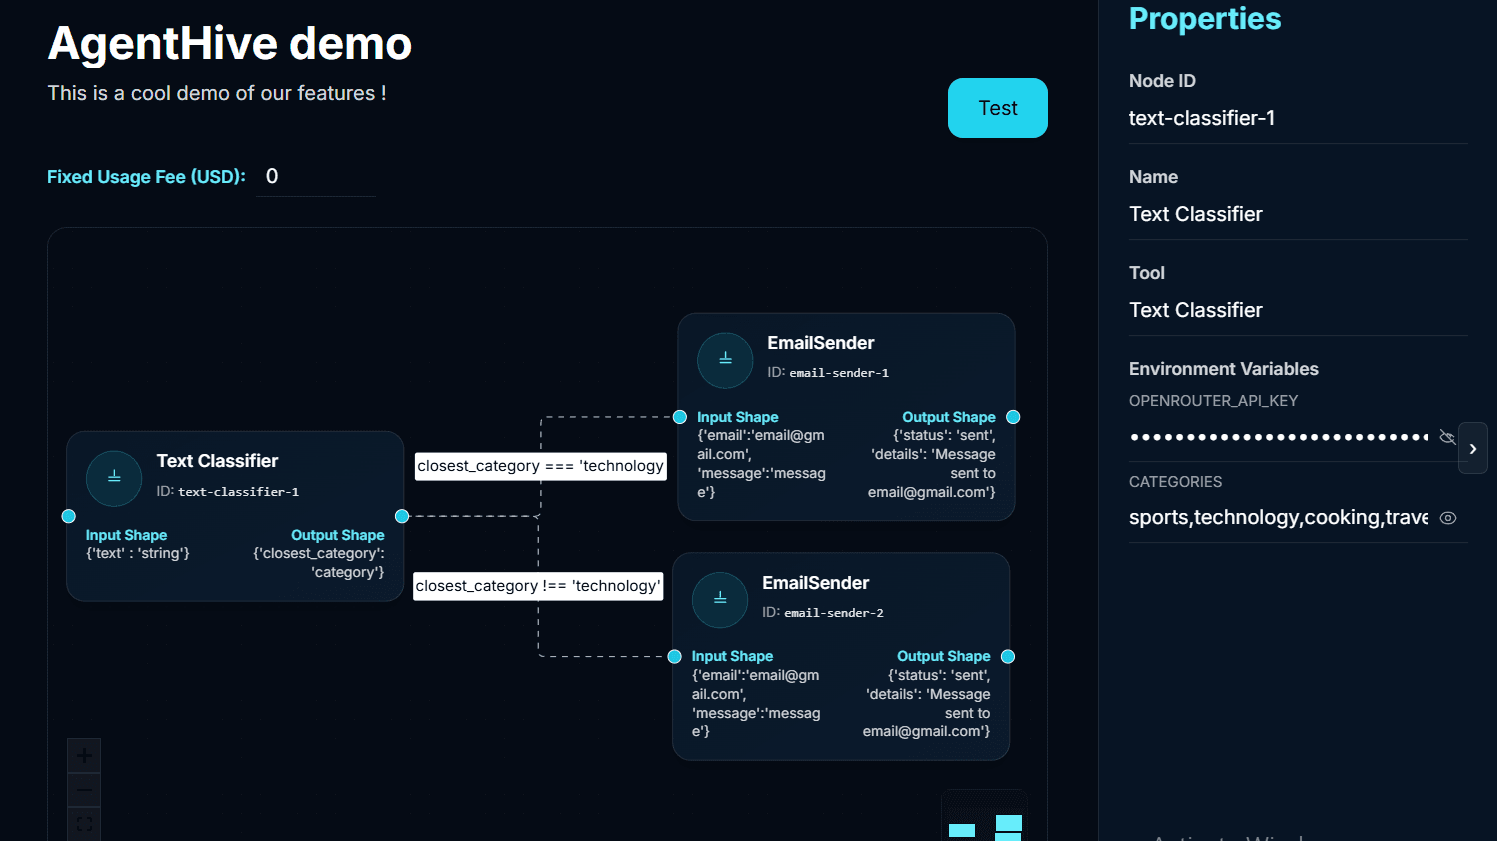
Once done, you will have an interface to test your incredible workflow! The instance will only be up for 25 minutes for you to test it.
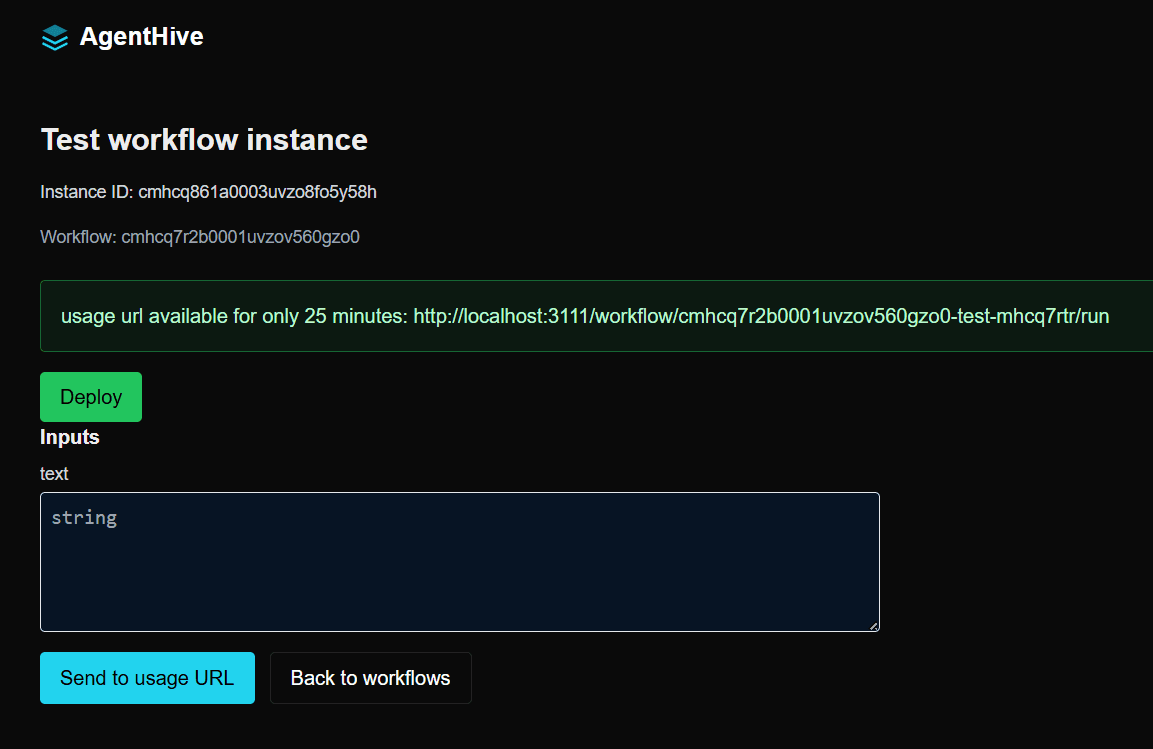
This is your free space to test your workflow as much as you need, with the weirdest inputs you can think of, and you get a full log of what each of your tools are doing after each execution!
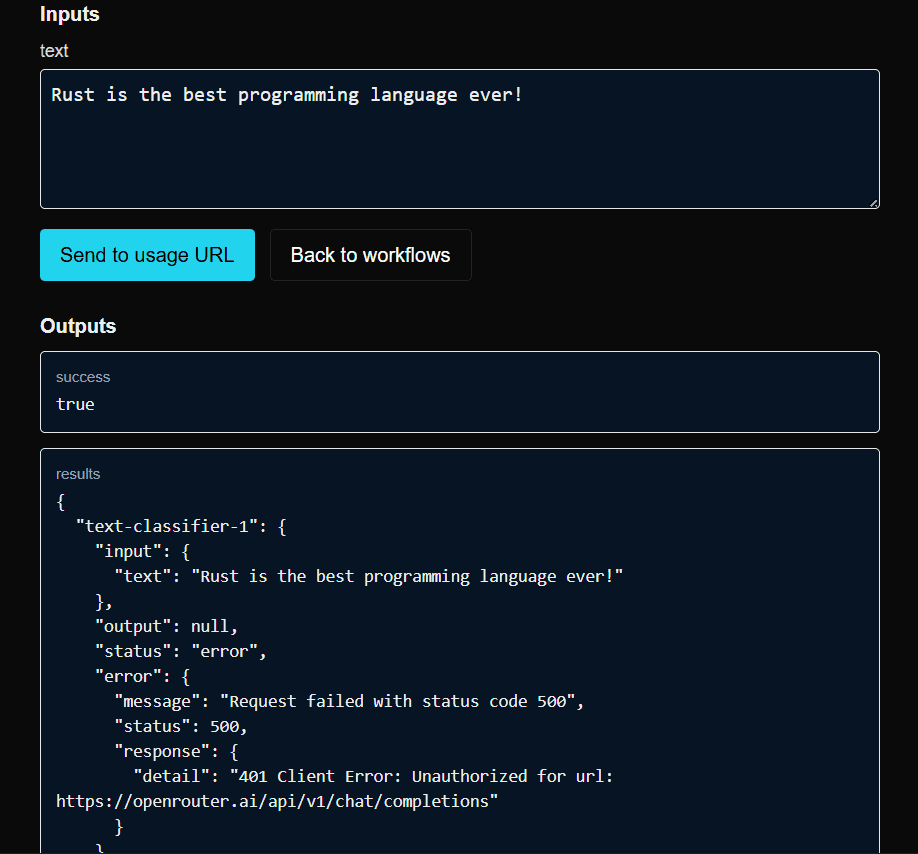
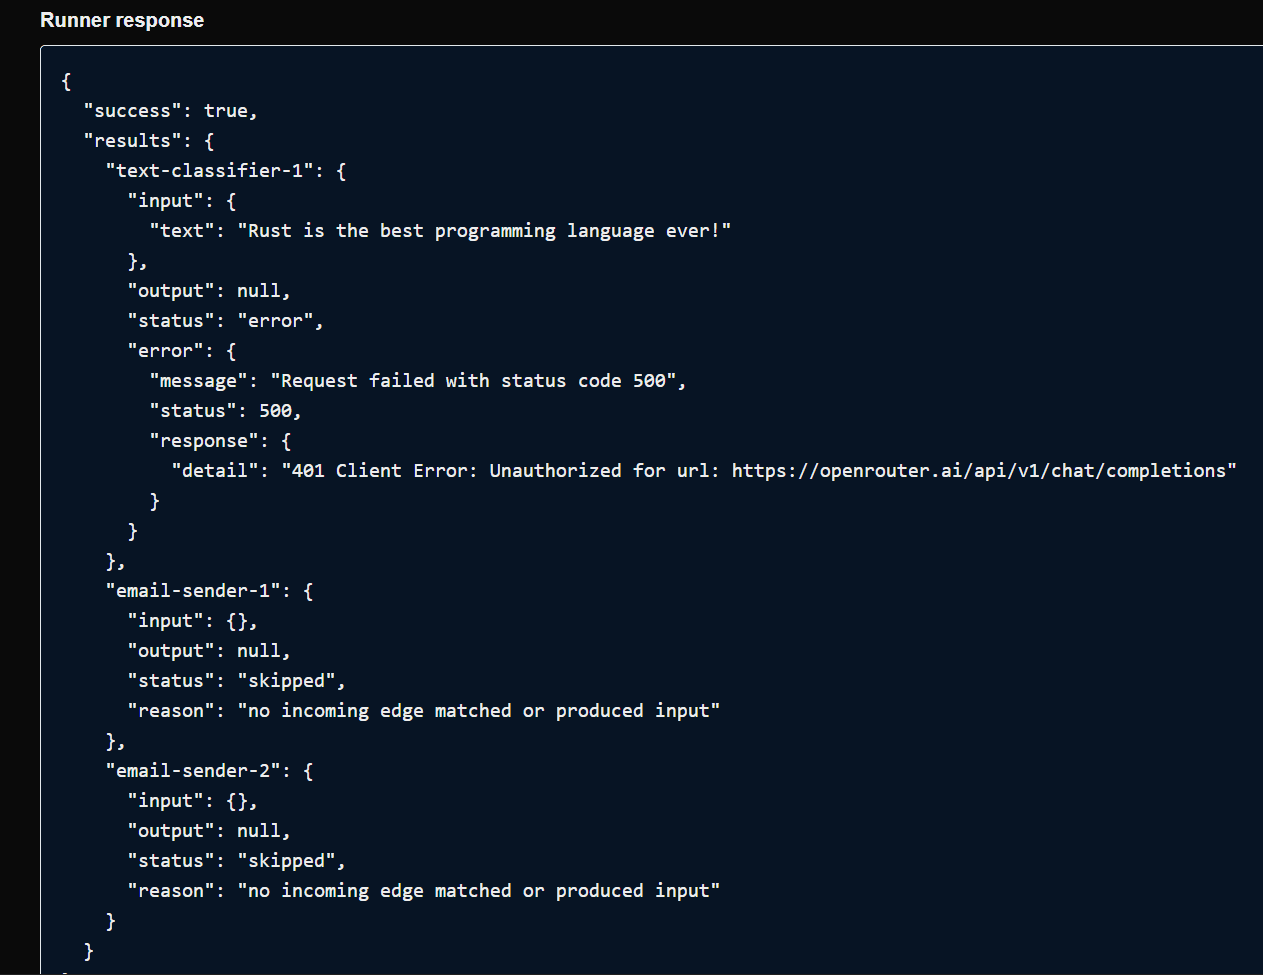
This space is important for you to make sure you're creating a valid workflow for your future users. Once you're happy, you can pass to deploying.
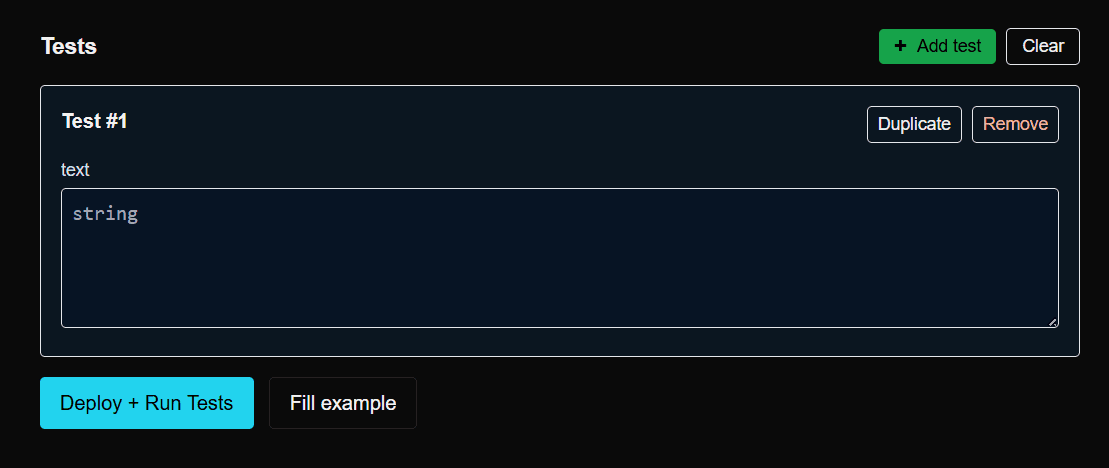
In the deploying page, you'll have the opportunity to set automated tests, where the server runs your inputs automatically and sends you a detailed report of what worked and what didn’t.
- Congrats!
And that's it! You now have a working workflow that we host for you, either on renter Nodes from around the world or on our own server if no sufficient nodes are available.
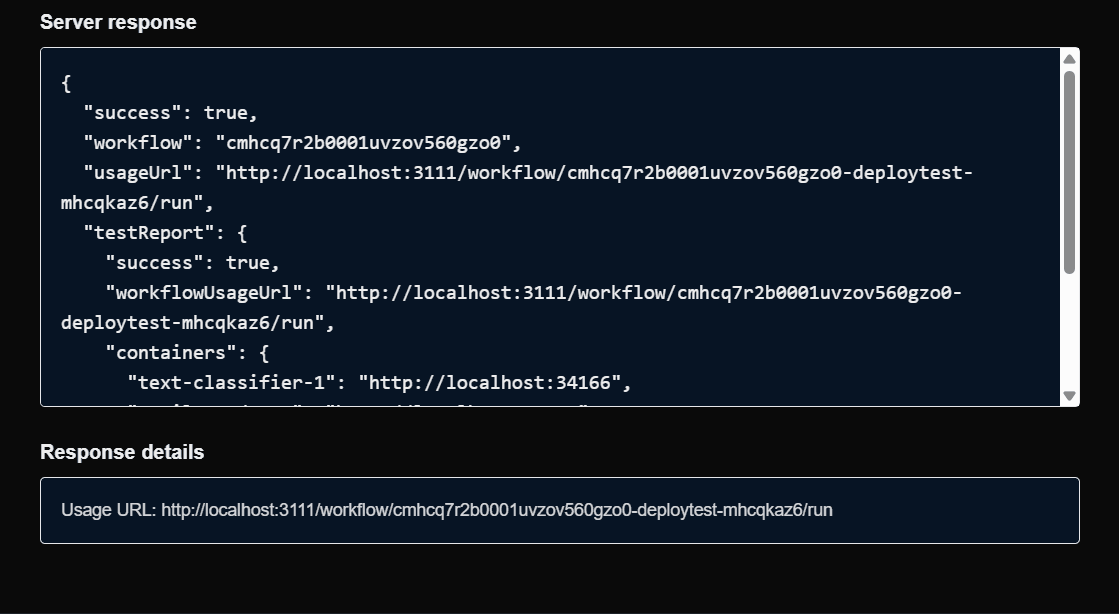
You'll find your workflow now featured on your profile — users can try it out and use it!
Creating Your First Tool
Follow these steps to create your first tool:
- Create a Docker image
Dockerize your tool's code and push it to Docker Hub in a public container. Make sure it exposes a
/runendpoint. - Register the tool
Use the platform to register your tool with its metadata and configuration.
- Test the tool
Use the testing interface to verify your tool's functionality. Alsot when you test, the server calculates the power consumption of the excution of your tool, to make sure the nodes that will run it later get a fair payment.
Next Steps
After completing this quick start guide, you might want to:
- Learn about advanced tool configurations
- Explore workflow patterns and best practices
- Learn about node renting
Important Note
Make sure to follow security best practices when deploying to production. Review our security documentation for more information.